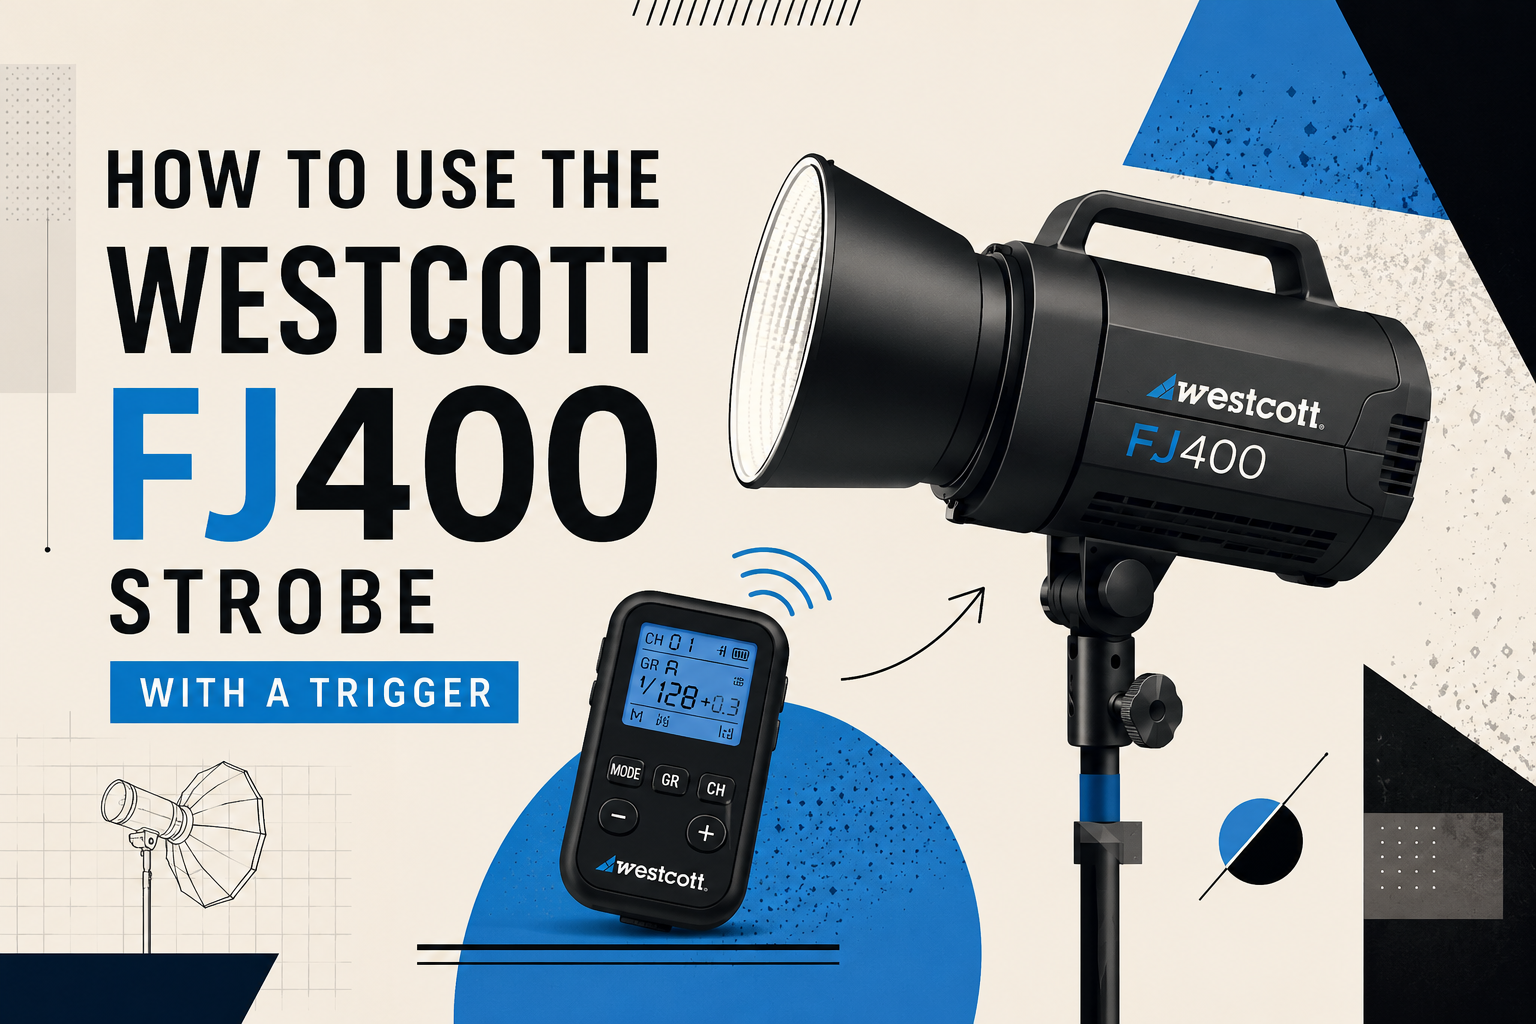
If you just got your hands on a Westcott FJ400 strobe and you're staring at all the buttons wondering where to start — this guide is for you. We use the FJ400 in our Los Angeles studio regularly, and it's one of the most straightforward strobes to learn once you understand the basics.
This isn't a deep technical breakdown. It's a practical starting point: what the main controls do, how to pair the trigger, and how to get your first properly lit shot.
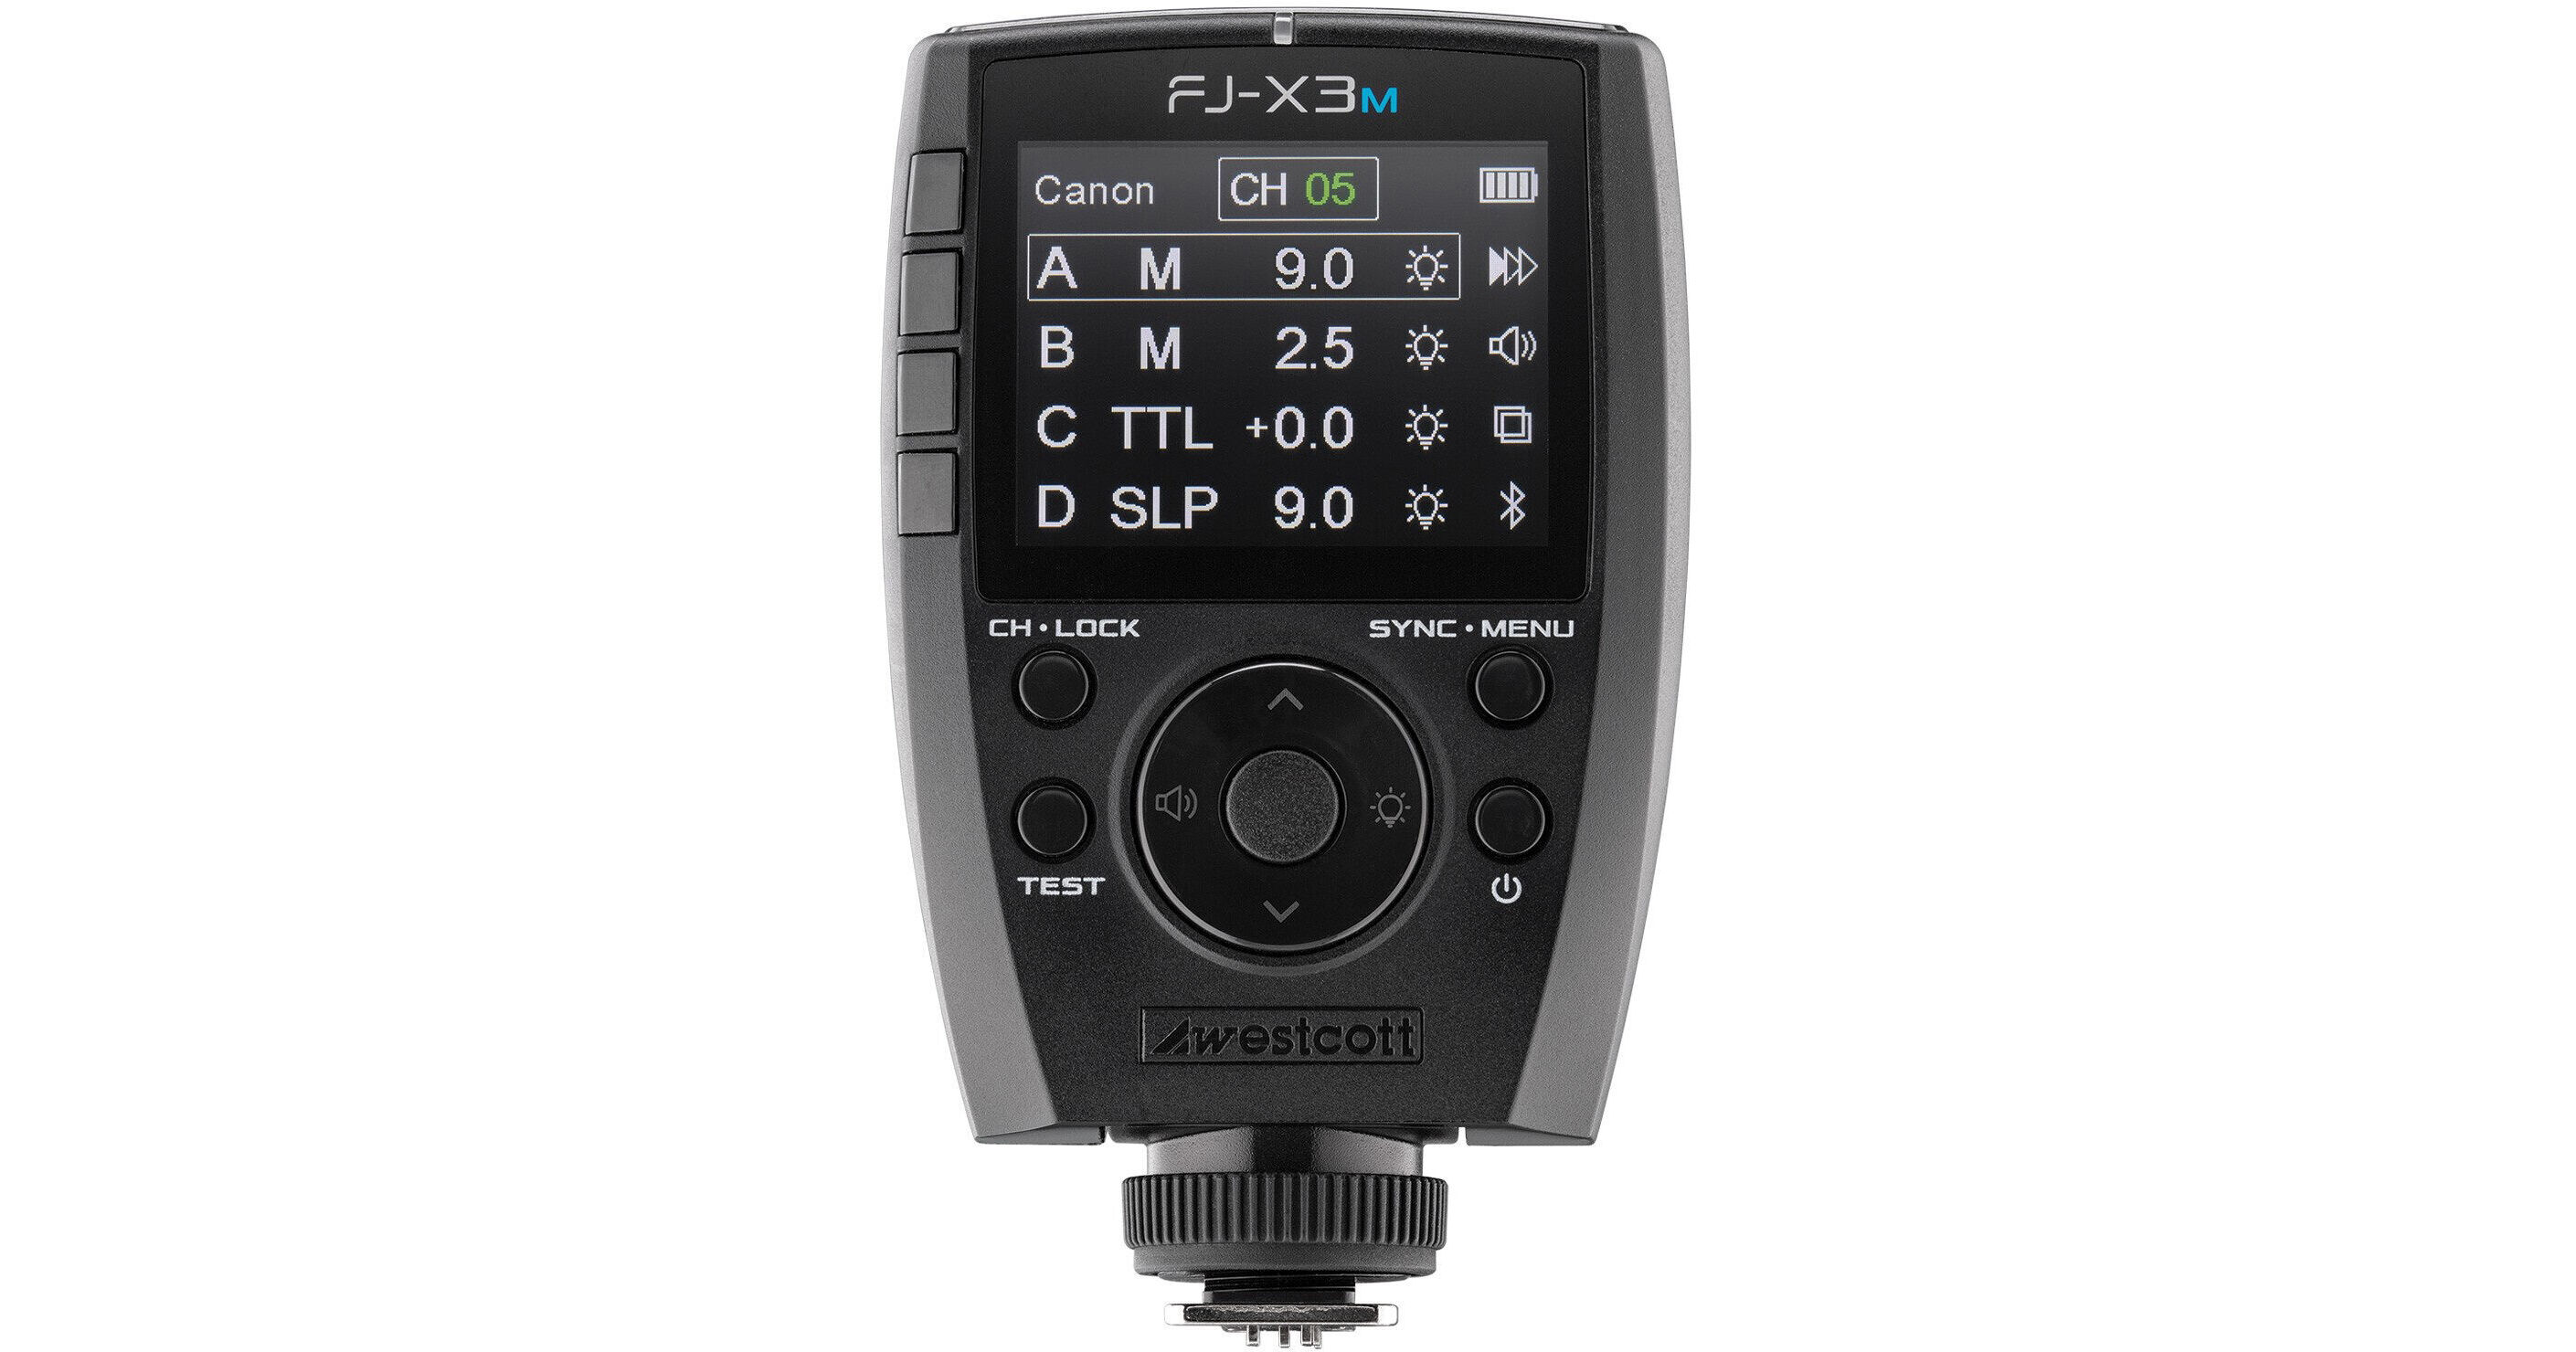
The Westcott FJ400 is a 400Ws battery-powered monolight. It's compact, relatively lightweight, and works both in studio and on location. It pairs wirelessly with the Westcott FJ-X3m trigger, which sits on your camera's hot shoe and talks to the strobe without any cables.
Together, the strobe and trigger give you full wireless control over your flash power — you can adjust everything from the camera position without walking back to the light.
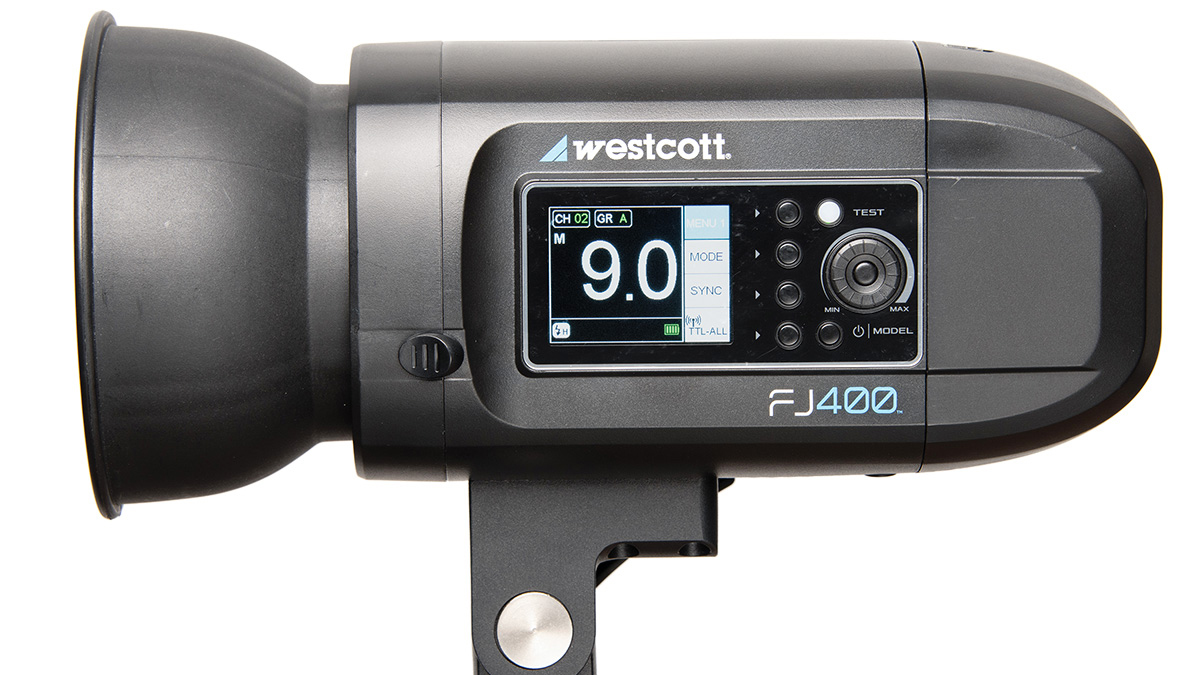
Power is measured in stops, from 1/1 (full power) down to 1/256. Start at 1/4 power — this is a safe middle ground for most indoor portraits. Go up if the image is too dark, go down if it's blown out.
The modeling light is a constant LED that stays on so you can see roughly how the light will fall before you shoot. It doesn't affect your exposure — it's just a preview tool. Turn it on when setting up, turn it off if it's distracting in your working environment.
After each flash fires, the strobe needs a moment to recycle. The ready beep tells you when it's charged and ready to fire again. At lower power settings this is near-instant. At full power it can take a second or two.
You likely won't need this if you're using the wireless trigger — but the sync port lets you connect the strobe directly to a camera or trigger via cable if needed.
If you're renting the studio at Ivan Rakov Studio, the FJ-X3m trigger is already paired to all strobes in the space — you just mount it on your camera's hot shoe, turn everything on, and it's ready to fire. No setup needed.
If you're working with your own trigger and strobe and need to pair them from scratch:
- Mount the trigger on your camera's hot shoe and turn it on
- Turn on the FJ400 strobe
- On the trigger, press and hold the pairing button until it starts blinking
- On the strobe, press the pairing button — both should confirm with a solid light
- Take a test shot — the strobe should fire
If the strobe doesn't fire, make sure both devices are on the same channel. You can set the channel on the trigger display — just match it to whatever channel is set on the strobe.
When shooting with studio strobes, your camera settings work differently than in natural light. The flash freezes the subject — so shutter speed mostly controls ambient light, not exposure from the flash.
Don't go above your camera's sync speed — usually 1/200 or 1/250. If you do, you'll see a black bar across the frame. Check your camera manual if you're not sure what your sync speed is.
The simplest place to start: one strobe, one subject, one modifier (a softbox or umbrella). Place the light at roughly 45 degrees to the side of your subject and slightly above eye level, angled down. This is called Rembrandt lighting and it's been used in portraits for centuries for good reason — it looks natural and flattering on almost everyone.
Take your first shot, look at the histogram, and adjust from there. If the image is too dark, raise the strobe power or open your aperture. Too bright — lower the power or stop down. Once you're in the right ballpark, focus on the quality of light: how soft or hard the shadows are, where the catchlights fall in the eyes, how the light wraps around your subject's face.
- Always check the battery level before a shoot — the FJ400 shows remaining charge on the display
- Let the strobe fully recycle before firing again, especially at high power — rushing it can cause inconsistent exposures
- If the strobe randomly stops firing mid-shoot, check the channel — wireless interference can occasionally knock it off
- The FJ400 gets warm during long sessions. It has built-in overheat protection, so it will throttle itself before damage occurs
The best way to learn is to shoot. Set it up, take a hundred frames, move the light around, change the power, change the modifier. The FJ400 is forgiving and consistent — once you understand how it responds, you'll be able to get the shot you want quickly.